
Sewing Tutorial #1: High Waisted Skirt with Elastic Band
Wednesday, April 27, 2011
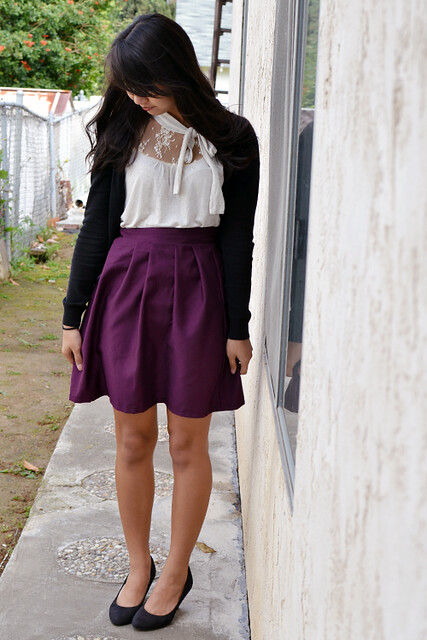
Hi! So I'll be trying my very best to write a tutorial on the skirt I wore on Easter (you can see it here!). :) Please bear with me as I'm just a beginner in sewing!
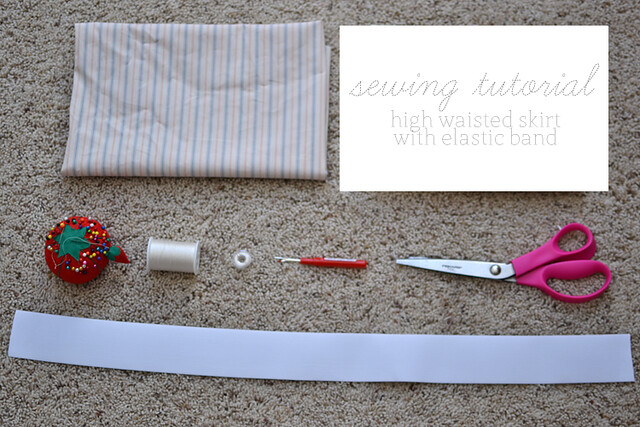
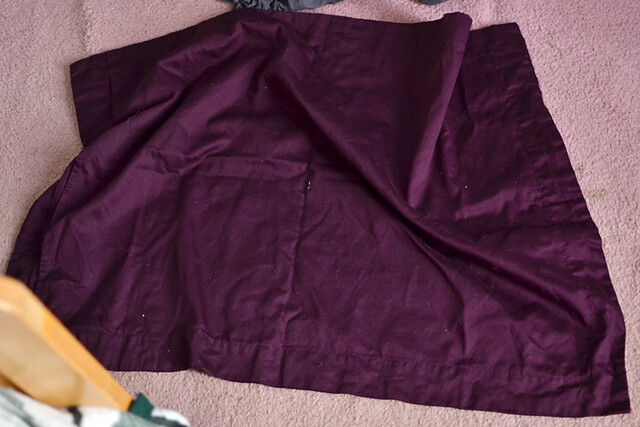
In the photo above is what I used. Assuming you have the basics (thread, sewing machine, scissors, pins, etc.), here's the most important part!
- Fabric (I used 3/4 of a yard, but it'll probably look nicer if you use a full yard . The more fabric you use, the more fuller the skirt.)
- Elastic (I pulled it around my waist until it felt snug but comfy, then added about an inch and cut! The extra inch is for when I sew the ends of the elastic together later.)

1. Lay out your fabric. Place the elastic at the top with about 1 inch from the edge. Mark the bottom of the elastic. That's going to be the very top of the skirt!
2. Measure how long you want your skirt to be from your waist down. Mine was 22 inches. Starting from where you marked and measure all the way down. Mark it. Now add 2 more inches for the bottom hem and cut!
3. Take your fabric inside out and line up the two sides of the fabric. You're going to sew the ends together so it looks like this:

Hopefully, you have just a tube of fabric! Now comes the more difficult part - the waistband. But don't worry, it's not too bad.
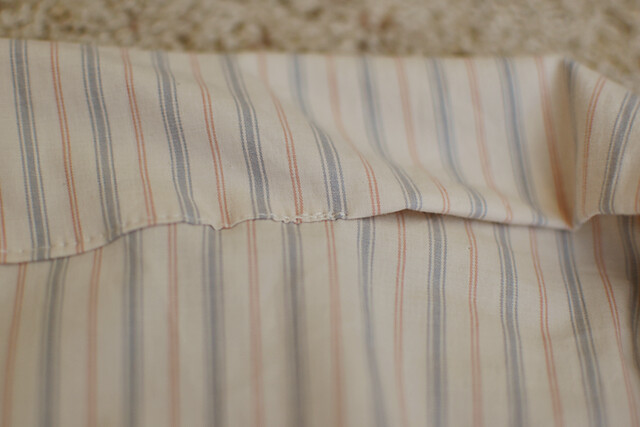
4. With the skirt still inside out, take the very top of the fabric and fold over an inch. Next, fold it over to the push pin that marks the top of the skirt. You want to lie down your elastic on top to make sure that it will be fit in the band, but you also want it to be snug so the elastic doesn't get all twisted when you wear it. Then use your push pins to keep it still. It should like this:

See? It's pretty tight. That elastic ain't goin' nowhere! >:)
5. Now, starting from where you made the side seam, you're going to sew the band shut at the bottom like so:
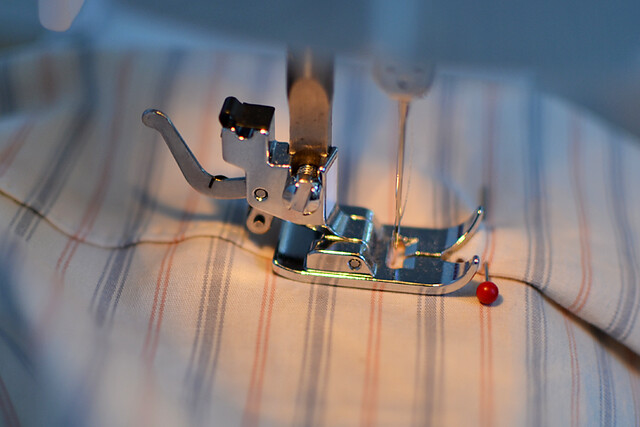
You're going to want to sew as close to the edge as you possibly can so that the elastic will still fit. It is good to check every once in a while whether the elastic will still fit through by just laying it on top of the waistband and seeing if you can still see the seam.
Once you sew around, you want to stop about 4 inches before the beginning.
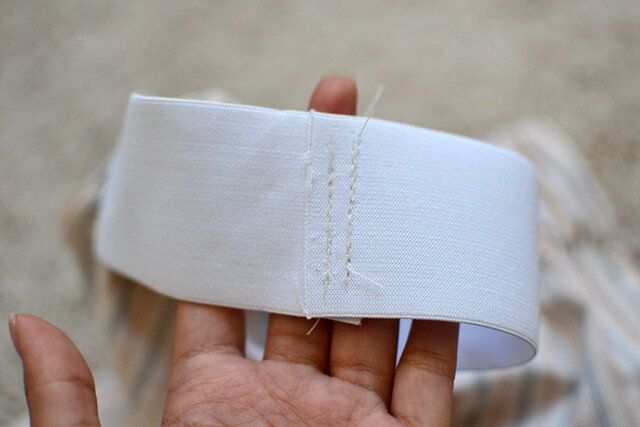
6. Through this gap, thread the elastic through! I personally like to put a safety pin on the elastic and thread it through, holding tight to the end. Once you put it all the way through the skirt, overlap the elastic by about an inch and sew it securely. I did it twice because it's a rather big elastic. Also, because it's pretty thick your sewing machine may mess up a couple times... but don't be discouraged! Keep calm!
(This may look like a lot of excess elastic, but I really just pushed all the fabric away for the photo. In reality, there's wayyyy more fabric! I had to take this photo fast because the fabric kept coming back up, haha.)
7. Once your elastic is sewn, sew up the 4 inch gap the same way you sewed the rest of the waistband (snug and as close to the edge as possible). You want to do this one carefully so that you don't sew the elastic!
You're almost there...
8. Hem the bottom of the skirt by folding over one inch, then folding over again. And your hem should look like this:
9. Go try on your new skirt!!! :D
There you go! I really hope this makes sense! Please, please, please let me know if I can clarify anything for you! I will gladly do so, of course. And if you get around to using the tutorial, I would LOVE to see what you come up with! :D Take care, everyone, and happy sewing!!!

Labels: caroline, sewing projects, tutorial
Sewing Project #4: Vertical Striped Skirt
Sunday, April 24, 2011
Happy Easter! (To all of those who celebrate!)
So today is Easter Sunday -- in terms of fashion, this means lots of pastels and happy colors. :) Oddly enough, today was one of the gloomiest Easter Sundays I've ever experienced. It also rained, which means that the little kids at church didn't have an Easter egg hunt because it was too wet outside. :| Also, since I didn't go back to my home church this year, I wasn't able to steal candy from my little sister. Hahah! :3
Well, I was already anticipating what happy colors to wear. Over spring break, Jomarie (you remember my cousin with awesome sewing skills, right?) taught me how to make a simple bunched skirt with just cloth and elastic.

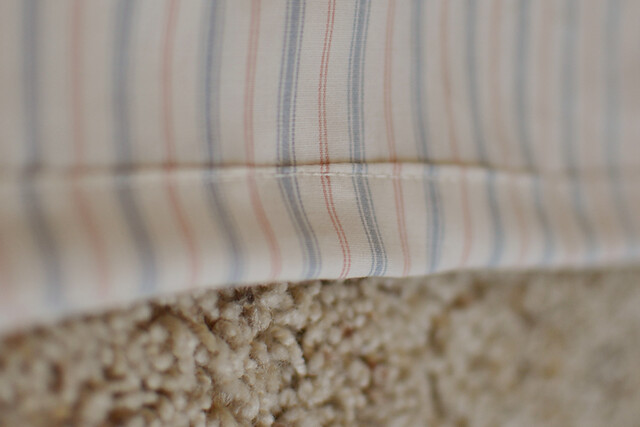
I somehow ended up with this cloth made up of lovely vertical stripes. I couldn't resist.
(*Sidenote* Please ignore the wrinkles... I took a nap after church, haha!)
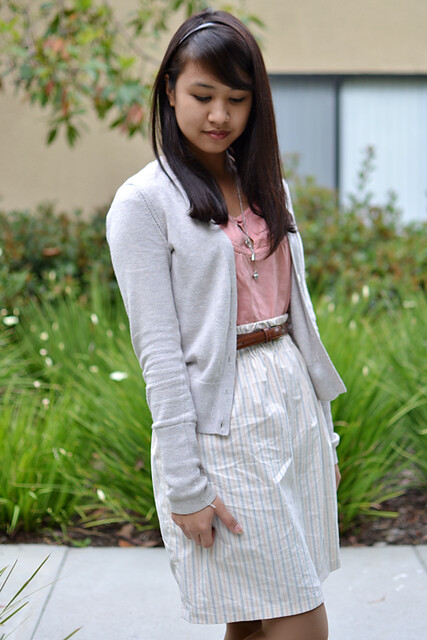
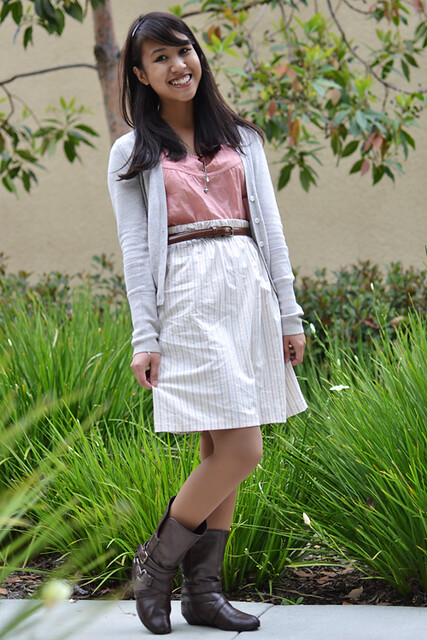
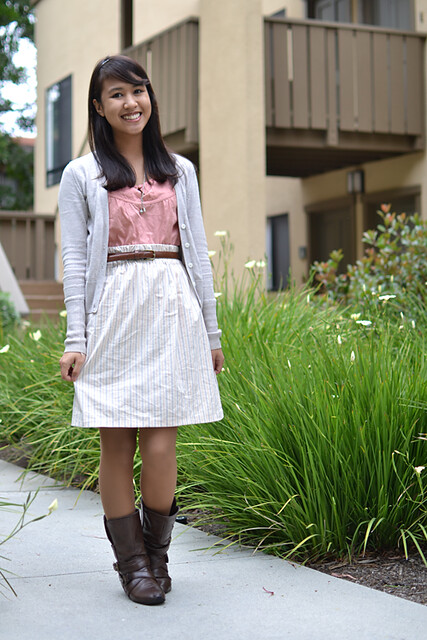
Anyway, the skirt itself is pretty comfortable (especially since it fits my waist perfectly - the joys of learning how to sew) I couldn't help but pair it with this coral top -- the colors make me happy. :D
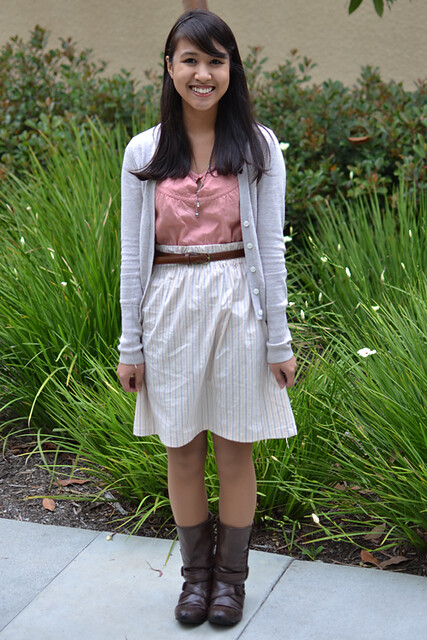
Thanks to Daniel for taking my photos today. :)
Top:Thrifted || Cardigan:American Eagle || Skirt:Made by me || Boots: Present || Peter Pan Necklace: Anniversary present
Tadaaa! While I made the skirt, I was considering on writing up a tutorial, so I took some photos during the process. So if people are interested, please let me know and I'd love to share -- it's pretty easy! :)
Hope everyone has a great Easter Sunday (or just a great Sunday, in general)! Eat lots of chocolate bunnies and colorful peeps! :D
Labels: caroline, outfit, sewing projects
Spring Break Project #3: Completed by Jomarie!
Tuesday, April 19, 2011
Yup, as my title says, my dearest cousin Jomarie was the one to do Spring Break Project #3. I had a really hard time altering a dress that I thrifted with Erin:
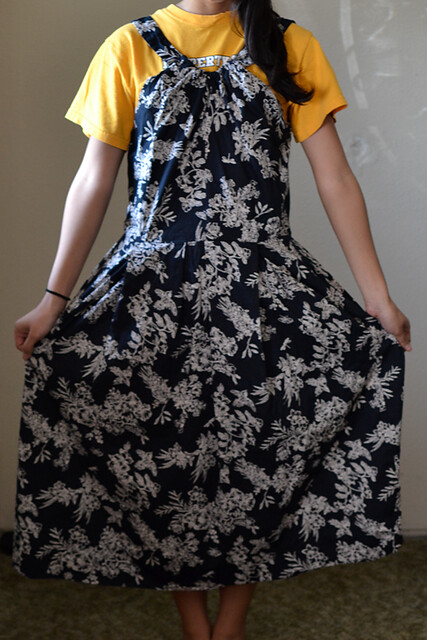
I was in love with this dress right when I set my eyes on it even though it was, as my sister called it, "frumpy." But I couldn't put it down (Erin can testify to that statement!). However, when I tried to alter it, I got really confused... so I took it to my younger cousin, who is amazingly talented with a sewing machine.
Sidenote: Actually, when I was a senior in high school and she was a sophomore in high school, she made my prom dress!
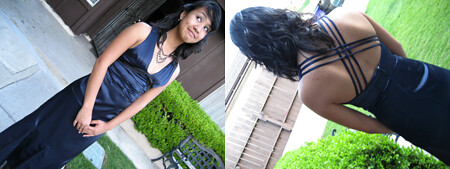
(Bahahah, my 17-year-old self is so awkward...)
So Jomarie is amazing. She taught me how to make my dress into a skirt and taught me how to make another skirt that I'll be wearing on Easter Sunday. :) As I was working on those other projects, I handed over the thrifted dress and let her take on the "frumpy dress".
The result?
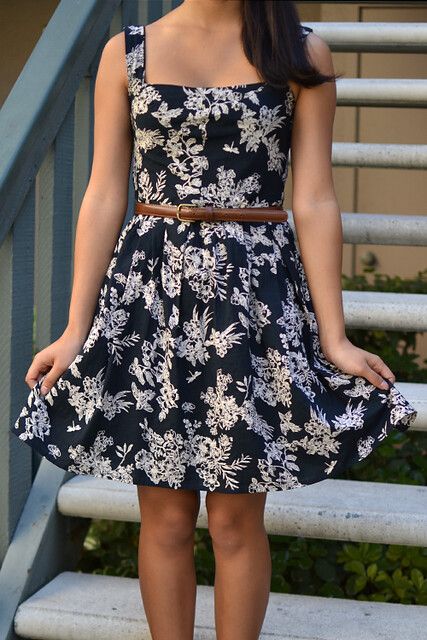
She was able to alter the length, the waist, change the cut at the top and change the straps. Basically, she made it perfect. :)
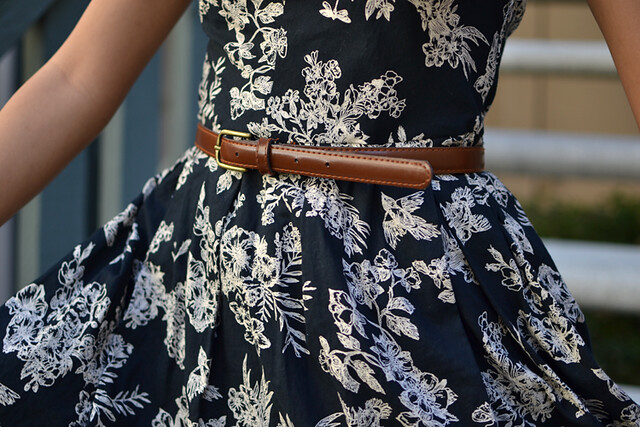
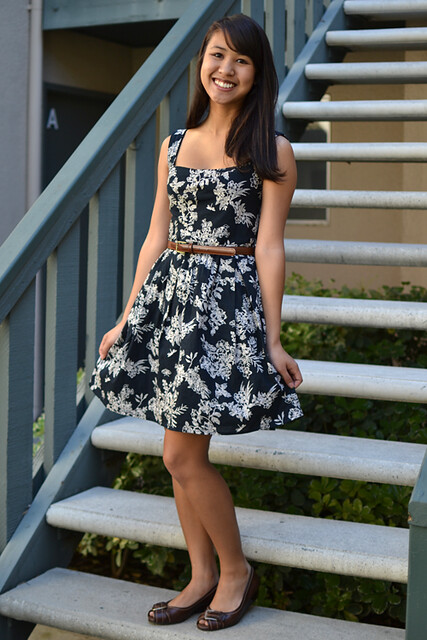
This is my new favorite dress. I want to wear it all the time! I haven't fit a dress this perfectly since... well, since prom. :P
Dress:Thrifted and altered by Jomarie (my cousin) || Belt: Thrifted || Flats: Borrowed from Carmel
So thank you again to my cousin, Jomarie, for all of her hard work and for making this dress ten million times better than I ever could. :) I love you!
Labels: caroline, outfit, sewing projects
Spring Break Project #2: Dress --> Skirt
Tuesday, March 29, 2011
So here comes the results of my next Spring Break project! Yesterday I went to my cousin's house who is so amazing and talented with a sewing machine and she taught me some tips and tricks. I will be writing more about her in another post because she really is great!
Yesterday she taught me how to sew and inserting elastic for things like pajama pants, or in this case, a skirt!
Here's the dress (stolen from my own Facebook, haha):

Or you might recognize it from this post:
Well, I love this dress. But over time, it just got way too short and the top got really loose. Naturally, this saddens me because I love the pattern and I always want to wear it out (especially to church), but can't because of how short and loose it is.
So I decided to make it into a skirt!

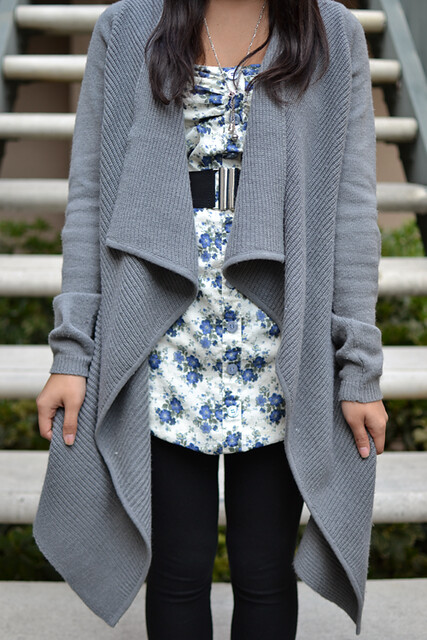
Tadaaa! Now it's a skirt!
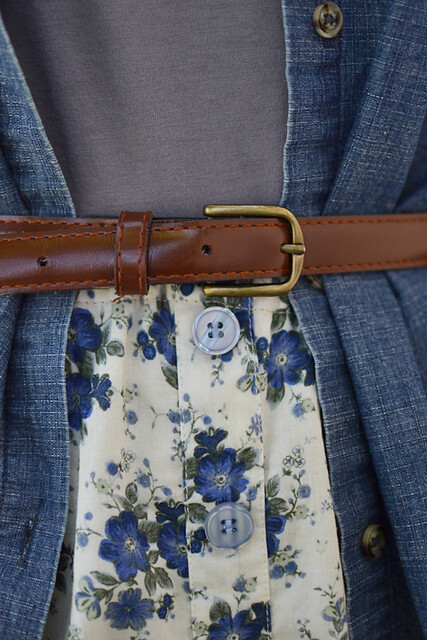
Skirt: Refashioned by me || Shirt: Forever 21 || Chambray Shirt: Thrifted || Belt: Thrifted
Tights:Target || Necklace: Present || Purse: Present || Sunglasses: Forever 21
I actually copied this style from Erin -- we haven't posted the pictures yet, but she inspired this outfit for me. Or rather, I copied it very closely.
Also, hope you enjoyed the photos -- shoutout to my Mommy who took them! It was both fun and funny. x)

Labels: caroline, outfit, sewing projects
Spring Break Project #1: Pillowcase Skirt
Wednesday, March 23, 2011
I made my very first article of clothing!!! As you all know, Erin and I are on Spring Break. This means that I get to play with my mom's sewing machine! Out of excitement, I made a list of projects:
- Make a skirt out of a pillowcase.
- Alter a thrifted dress.
- Refashion this dress into a skirt.
- Make a skirt out of extra fabric.
(Haha, I guess I really want skirts, huh?)
Here's an extra pillowcase that came with my bedding. Remember how I love purple? Well, this particular shade is my favorite! So I wanted to make a skirt out of it... because I liked the color. :P
So I examined one of my other skirts for
Top: Present || Skirt: Made by me! || Cardigan: H&M | Heels: H&M
Since it is my first attempt at making clothes, it's far from perfect. The waist is uneven and the hemming is a bit off. But I'm still extremely satisfied with the outcome and I'm excited to use the sewing machine some more! Practice makes better, right? :D So expect my next couple of posts to be about my "spring break projects", haha. :)
Labels: caroline, outfit, sewing projects